Table of Contents
Introduction
Have you ever thought of how you can grab the attention of your audience in seconds?
In this ever-expanding world of videos on YouTube, it is extremely challenging for you to make your content stand out especially if you are new to content creation.
So, how do solve this problem?
How do you make sure that the audience click on your video and watch it and not just scroll past it?
You can ensure this by creating effective thumbnails.
Thumbnails serve as the first impression of your content and can either make or break the performance of your video on YouTube.
So, do you want to know how you can prepare such amazing thumbnails easily?
With the rise of artificial intelligence (AI), creating stunning, professional-quality thumbnails has never been easier.
In this blog, we’ll guide you through the process of using AI tools to craft eye-catching thumbnails that make your videos stand out.
Why do Thumbnails Matter?
A thumbnail serves as the face of your video.
It’s often the first impression a viewer has of your content, and it can make or break your video’s performance.
A well-designed thumbnail is essential because:
- It captures attention instantly.
- It conveys the message or theme of the video.
- It helps you to create consistency with your brand.
- It encourages viewers to choose your video over others.
With so much competition on YouTube, AI tools provide a much-needed edge in designing visually striking thumbnails quickly and efficiently.
How to Create Thumbnails Using AI Tools?
YouTube thumbnails are crucial for getting people to click on your videos.
But, creating appropriate thumbnails and deciding which thumbnail is best for your videos could be complicated and time consuming.
Hence, we have made this task easier for you by explaining which AI tools can be used for which of the processes of creating a thumbnail.
Thumbnail Ideation
Before starting with the creation of a thumbnail, it is important for you to have a clear idea as to what exactly you want depending on the theme of your video.
After that, you can use tools like ChatGPT to create an interesting thumbnail.
For this, you have to describe your idea in as much detail as possible.
For instance, for a video about the best AI tools for creating a thumbnail, you might ask, “Suggest thumbnail ideas featuring the best AI tools for creating thumbnails.”
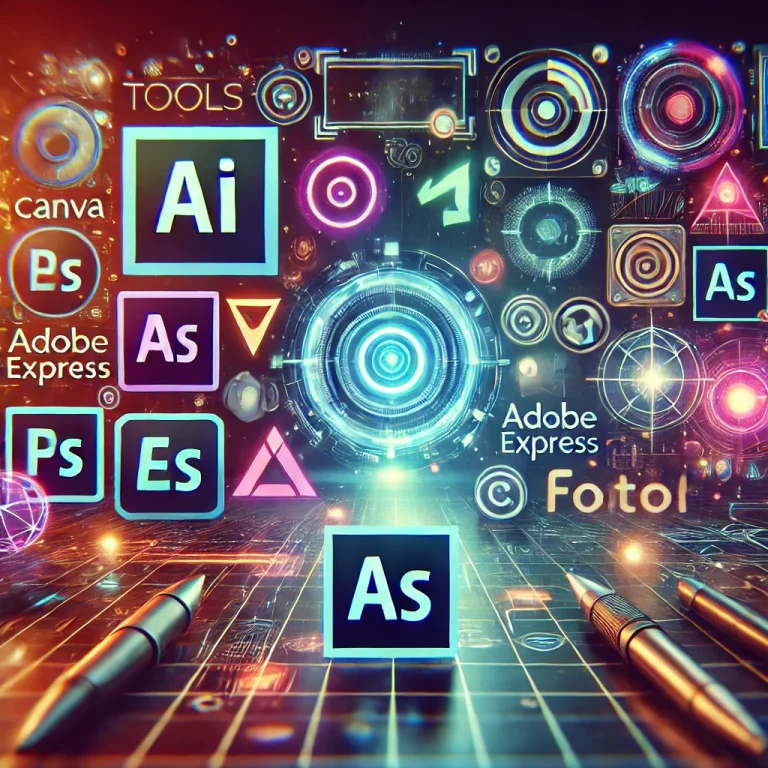
If you’re unsure where to start, ask ChatGPT for 10 thumbnail ideas based on your video topic.
For example, “Give me thumbnail ideas for the best AI tools for creating thumbnails.”
Here is an example of the answer which is generated by ChatGPT:
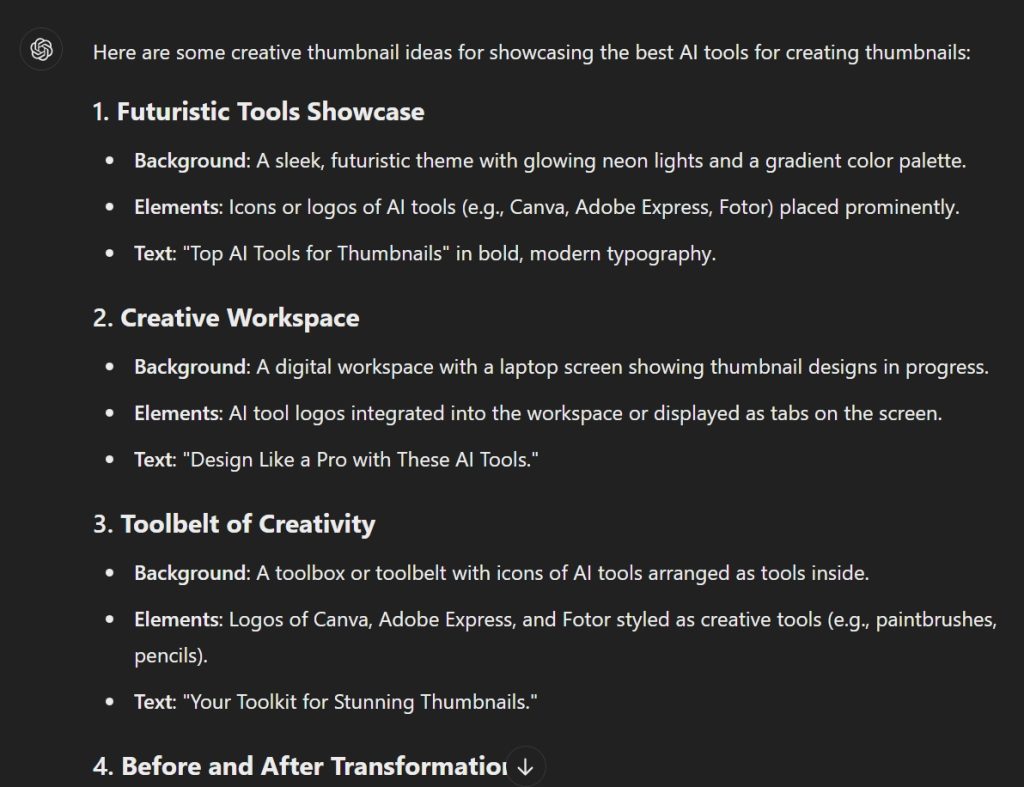
You may also share your video’s transcript or key points with ChatGPT for more specific thumbnail suggestions that reflect the content accurately.
Pro Tip: Use tools like ViewStats Pro to find high-performing thumbnails on similar topics. Analyze what works and draw inspiration for your designs.
Create Thumbnail Drafts
Once you have an idea, it’s time to bring it to life using AI-powered image generators.
You may use tools like like ChatGPT, DALL-E3 or Midjourney.
Steps to Generate a Thumbnail with AI:
Step 1: Craft a Detailed Prompt:
Be as specific as possible about the scene you want.
For a video about AI tools, you might describe:
“A superhero with a cape, surrounded by icons of AI platforms, flying over a futuristic cityscape.”
Step 2: Specify YouTube’s Standard Aspect Ratio:
Use the 16:9 aspect ratio, which is standard for YouTube thumbnails.
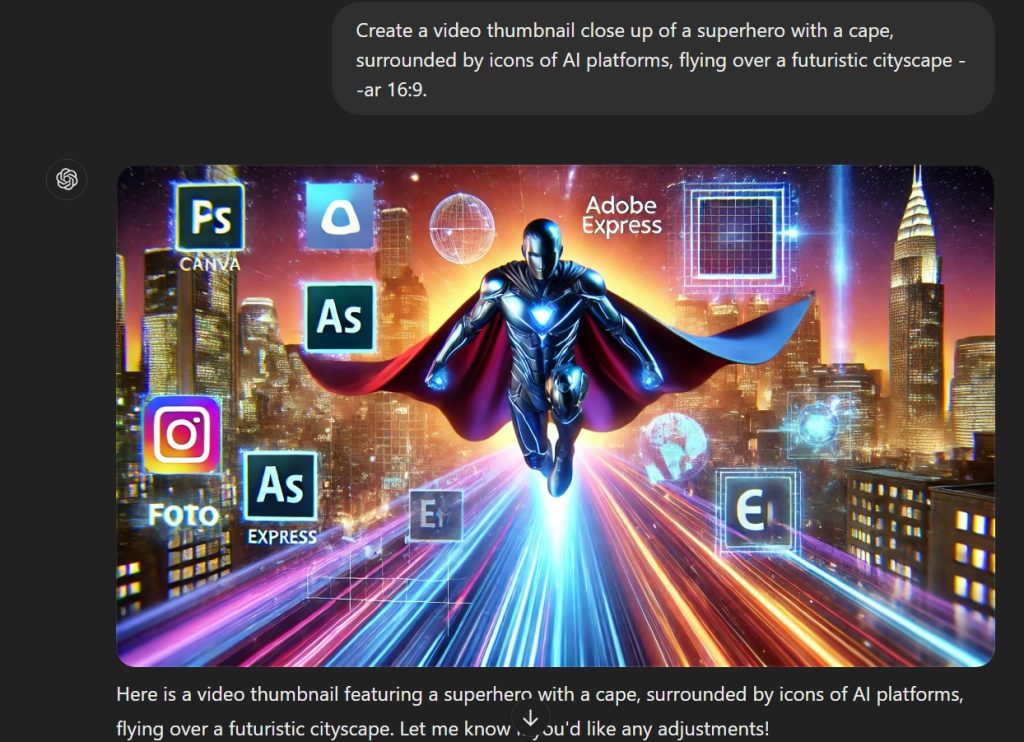
In tools like Midjourney, include ‘–ar 16:9′ in your prompt.
Pro Tip: Use Midjourney’s character reference feature to create custom avatars resembling you. Simply upload your image to a website and use the ‘–cref [URL]’ command in your prompt.
Edit and Refine Your Thumbnail
After generating a draft, refine it to align perfectly with your style and content.
You may use tools such as DALL-E and Midjourney.
Both these platforms allow minor edits directly, such as changing colors or adding details to specific areas using features like inpainting.
For more advanced editing features like removing unwanted elements, brightening a poorly lit face, etc., you may use tools such as Adobe Photoshop or Adobe Express.
Canva is a good option for you if you want an easy-to-use option for adding text, filters, and graphics.
Add Your Face to the Thumbnail
Personalized thumbnails that include your face are highly effective at building trust and engagement.
AI face-swap tools can help you integrate your image into creative scenarios.
How to Use AI Face Swap
Step 1: Choose a Tool:
Options include Replicate, InsightFace, or advanced platforms like FaceFusion and Stable Diffusion with DreamBooth.
Step 2: Upload Images:
Provide a front-facing photo of yourself as the source and the AI-generated thumbnail as the target.
Step 3: Run the Process:
Use the tool to swap your face into the thumbnail design.
Step 4: Review and Refine:
Double-check for accuracy and make tweaks as needed.
Pro Tip: Tools like Replicate are user-friendly and free, while more advanced tools like FaceFusion require some technical expertise.
Test and Optimize Your Thumbnails
Once you’ve created a few thumbnail options, test their performance to find the most effective design.
Step 1: Use YouTube’s A/B Testing feature in YouTube Studio.
Step 2: Upload multiple thumbnail options for the same video.
Step 3: Monitor performance metrics like CTR over a week.
Step 4: Select the best-performing thumbnail.
Step 5: Identify moments in your video where viewer interest peaks, then create thumbnails highlighting those moments.
Step 6: Use tools like ChatGPT to craft compelling quotes or visuals for these key moments. For instance, if a spike occurs during a humorous segment, your thumbnail could feature a funny expression or caption to draw attention.
Tips for Creating Stunning Thumbnail Using AI
1. Define Your Goal:
Before starting with designing your thumbnail, ask yourself some basic questions like what is the purpose of your video and what is the message that you would like to convey through your video.
Clarity on these questions will help you design a thumbnail that aligns with your goals.
2. Choose the Right AI Tool:
Select an AI tool that suits your needs.
For instance, if you’re new to design, Canva might be more user-friendly.
On the other hand, if you are a seasoned creator and have enough experience, Adobe Express could be a better option.
3. Select or Upload a Template:
AI tools typically provide a variety of templates to start with.
Choose one that matches your video’s theme or upload your own image to customize.
4. Customize the Design:
You can customize the template provided by the AI.
You can add a bold and concise title, choose colors that match your brand or evoke the desired emotion.
5. Include Faces and Emotions:
Once you are done creating a thumbnail, make sure that you add any faces or any sort of emotions to it.
It is observed that thumbnails with human faces, especially those showing strong emotions, tend to perform better.
6. Iterate Often:
Make sure that you regularly update your thumbnails based on the performance data to maximize the impact.
Conclusion
As the saying goes, “First impression is the last impression.”
This is true in case of your YouTube videos as well.
If the viewers have a good impression of your video by looking at the thumbnail, your video will perform well, else, it will get lost in the plethora of content available on the platform.
Therefore, these AI tools have made your task easier by designing professional, eye-catching visuals with ease.
So, start experimenting with AI today, and watch your thumbnails and your channel reach new heights!
